Ceiling Form can look daunting to a freshman. With the right tools, accouterments, and some safety preventives, you can repair the damage and avoid a more expensive form job. Homeowners like you can carry out introductory do-it-yourself ceiling form jobs with the right knowledge and tools.
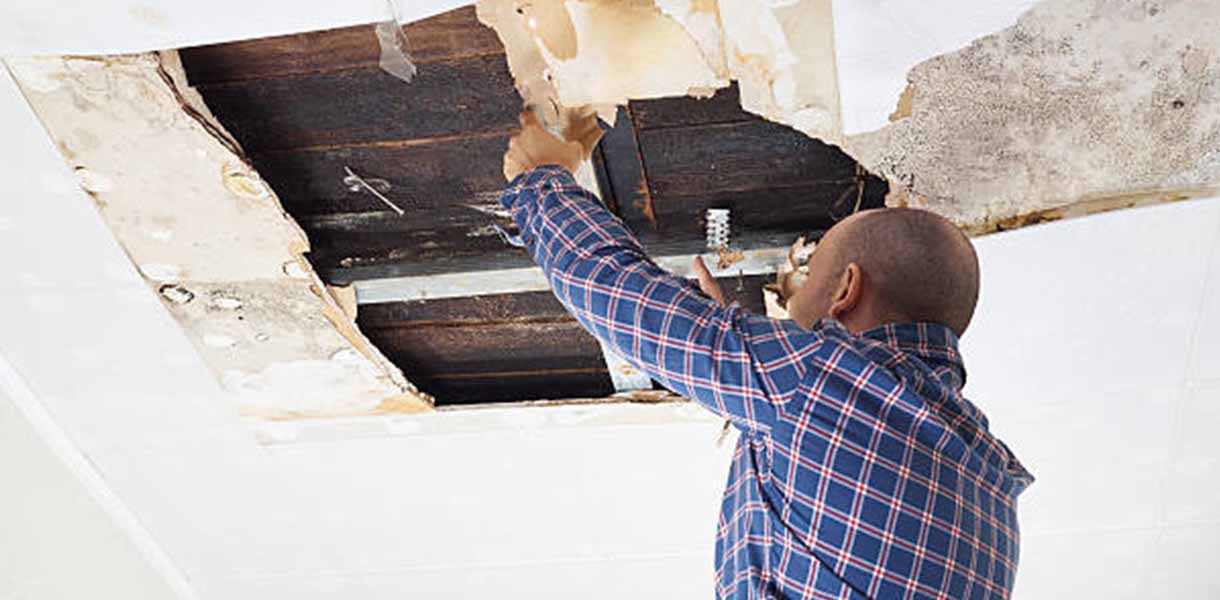
What Causes Ceiling Damage
Water damage: Leaks from your roof or other areas in the house can beget water to transduce into your ceiling and damage them.
Structural issues: This is especially common in damp areas of the house like kitchens and bathrooms.
Humidity: Moisture can transude into the ceiling and beget molds to appear.
Age: Some types of damage are just due to normal wear and tear and gash.
Tips For Different Ceiling Repair Jobs
Fix Cracks
Firstly, you should beach down any loose makeup and drywall. Then, apply mesh tape recording over the crack. And finally, you should spread common emulsion over the tape recording and smooth it out.
Repair Nail Pops
Drive screws into both sides of the superstud the nail is in. Then, remove any damaged material and remove or replace the original screw. At last, spread common emulsion over the screws.
Drywall Ceiling Repair For Large Holes
First, you should cut a cube around the damaged area. Second, add rustic cleats behind each side for support. Third, attach a patch piece to the cleats. Fourth, place mesh tape recording over the patch piece and spread common emulsion. Fifth, apply an alternate and third fleece of the emulsion over repairs and also beach until smooth. Finally, clean with a damp rag to remove dust; high and paint the ceiling to match.
The Do’s Of Ceiling Repair
Pinpoint The Cause Of The Crack
Occasionally, the cause of a ceiling crack is apparent, similar to visible water stains on the ceiling, which indicates a leak caused the common emulsion to soften and crack. A delicate spider web of hairline cracks is frequently the result of applying common emulsion too thickly, which redounded in loss and the development of cracks as it dried. Before diving into this ceiling form, correct the cause of the cracks, similar to fixing leaks to help cracks from recreating.
Consider Popcorn Ceiling Removal
All the rage in the 1960s and 70s, popcorn ceilings that still survive moment are frequent dust and smut collectors, and any type of crack form is likely to stick out like a sore thumb. Since this type of ceiling can actually reduce a home’s request value, this may be an excellent time to get relieved of the texture or cover it up with drywall panels or rigid froth panels. Popcorn ceilings installed before 1978 may contain asbestos, so it’s vital to find out what type of popcorn texture is on your ceiling before making repairs. It’s generally better to have an asbestos- remediation expert remove a popcorn ceiling that contains asbestos.
Protect The Walls And Floor
Wet drywall emulsion has a way of trickling far and wide when you’re working above, so take a way to cover walls, the bottom, and any other particulars in the room. Lay down an oil tarp on the bottom( plastic drop cloths can come wet and dangerously slippery), and cover any cabinetwork with feather-light plastic drop cloths to avoid ruining them. However, consider covering the wall with a plastic drop cloth to keep splatters off, if the ceiling crack is near a wall.
Try A Flexible Patching Compound
Still, only to have the crack reappear many weeks or months latterly, consider sealing the ceiling form with a flexible product similar to Elastopatch Smooth Flexible Fixing emulsion, if you’ve repaired a crack in ceiling drywall ahead. Rather than applying standard paper or mesh drywall tape recording to the crack, encounter on a thin fleece of Elastopatch with a small encounter — directly over a crack that’s been filled with emulsion or spackling and also filed smooth. One or two fleeces of Elastopatch is each it takes to form a flexible seal over the repaired crack.
Add A Finishing Touch
Repaired cracks can look nearly as bad as the cracks themselves if the repairs don’t match the rest of the ceiling. Ceiling patch form products are available in sprays and semi-liquids for applying with a sponger — be sure to get one that matches the ceiling’s texture. Painting the ceiling is also an option, in which case, look for a high-hiding ceiling makeup in a neutral color.
The Don’ts Of Ceiling Repair
Don’t Proceed Without a Plan
Depending on the type of ceiling texture and the extent of the crack, ceiling repairs might involve removing some of the texture to make the form and also doctoring the ceiling with a product that matches the rest of its face. Rather than smearing some spackle into the crack with a cutlet( which occasionally works!), consider whether re-texturing or painting will be necessary to give the ceiling a finished look after the crack repairs are complete. For stylish results, consider all aspects of the design and the asked outgrowth.
Don’t Cheap Out
Take care to wipe down residue from the face, If the crack is a veritably thin hairline — and it’s been there for a while — odds are you can simply put a little spackling on a cutlet and smear it precisely into the crack. More frequently, still, the crack will be larger, or the ceiling will have multiple cracks. When this is the case, using the right tools and accouterments will give stylish results. A 6- inch taping cutter works well for removing loose ceiling texture and shelling paper. A small hogshead of premixed drywall slush is necessary for filling the cracks, and using mesh or paper drywall tape recording to support the emulsion is helpful. A drywall grinding sponger comes in handy for smoothing the face after the admixture dries.
Don’t Forget To Stay Safe
Grinding drywall emulsion can produce waves of dust, and you should wear a dust mask in addition to eye protection before diving into the task. In addition, when working above, use only sturdy step graduation in order to reach the ceiling.
Don’t Shorten Time For Drying
Ceiling crack repairs made with wet drywall emulsion should be fully dry before another coating is applied. The general rule- of- thumb then’s to apply the admixture in the thinnest fleece possible, making sure to remove redundant with a taping cutter. When fully dry, the emulsion will turn a bright white color. At that point, it can be filed down and re-coated.
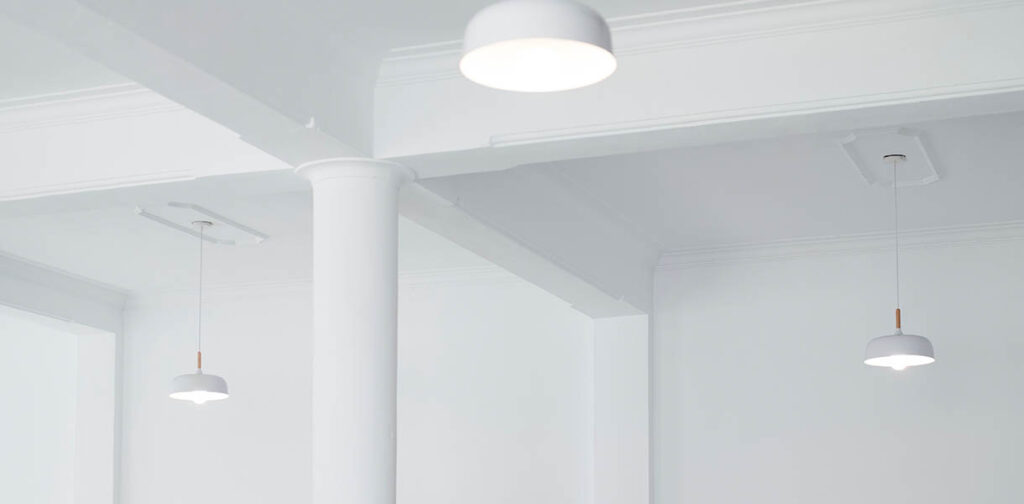
Don’t Skip Other Ceiling Updates
Once the ceiling form is complete and the ceiling texture has been renovated, a dated light institution or a gravel return-air articulation can mar the new look. Consider replacing an old light institution with a new bone, and replace an old articulation – or at least clean it and give it a fresh fleece of makeup – to give the whole room a fresh new look.